Southshore Falls
Not Getting SSF Email Blasts?
Log into the Resident Portal to make sure you are opted in to get all email communications.
Residents – Updating Notifications Settings
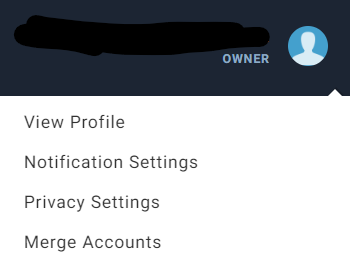
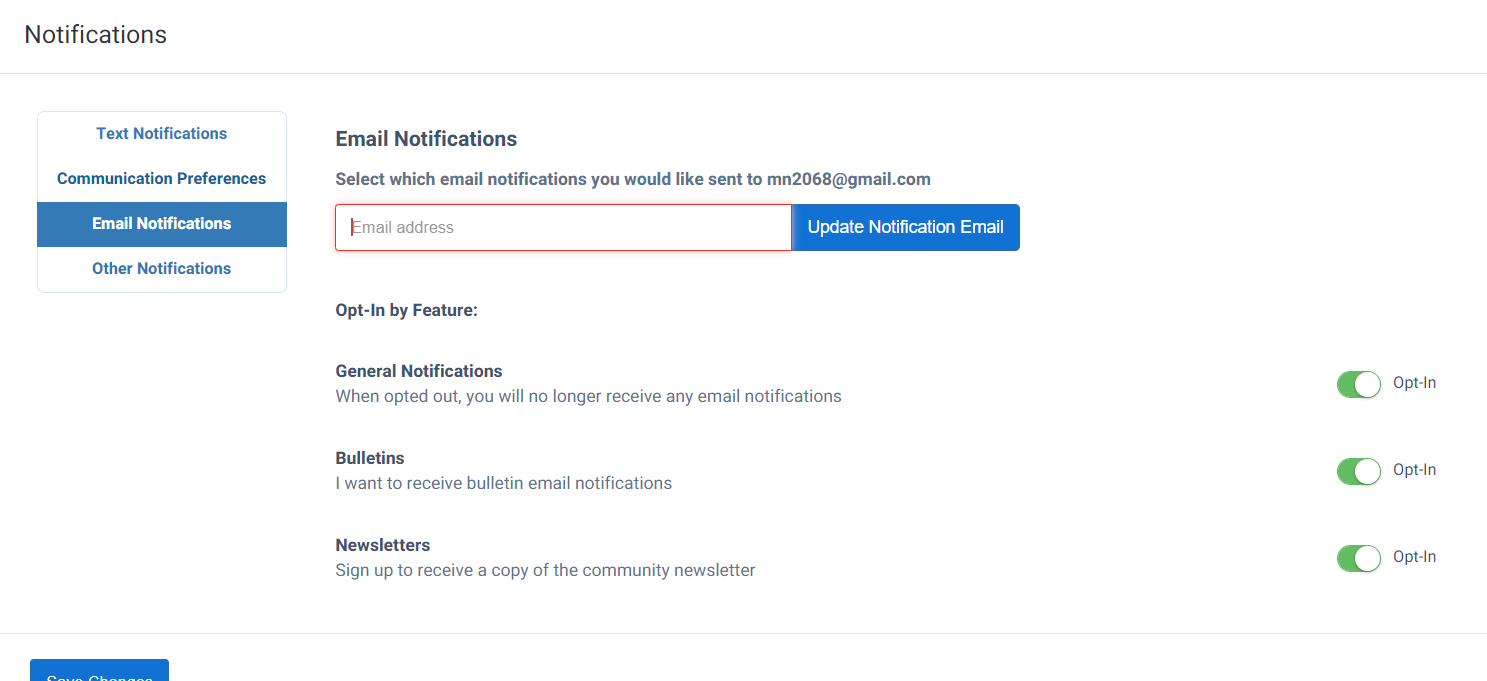
Log into the resident portal. Select your name from the top menu and a dropdown will appear. From the Dropdown select Notification settings. Once you are on the notification screen you will be able to opt into text messages, communication letters via email and email notifications regarding the community news. Opt in by toggling each option you wish to recieve.
Residents – Instructions for Whitelisting Emails
What is a Whitelist?
Whitelists are used frequently with e-mail applications to allow users to compile lists of senders they wish to receive e-mail from. This list overrides any blacklists and spam filters, and allows the e-mails to be delivered to the users inbox instead of filtered out as spam.
FRONTSTEPS recommends that Residents whitelist any emails that they may receive from your Community, to prevent the emails from getting lost in spam or junk email folders.
Whitelisting Emails in Gmail
- Open Gmail. In the upper-right corner, select the Settings (gear) icon. From the menu, choose Settings.
- Select Filters and Blocked Addresses.
- Select Create a new filter. If you already have many filters, you’ll have to scroll down to find this link.
- A dialog box appears. In the From field, type the email address you want to whitelist. Be sure to type the full email address, like example@yahoo.com. To whitelist every email address from a particular domain, type just that domain name, like @yahoo.com.
- At the bottom of the dialog box, select Create filter.
- On the next screen, tell Gmail what to do with the email address or domain you just indicated. To do so, select Never send it to Spam. To finish the process, select Create filter.
- If you want to whitelist more than one email address or domain, you need not repeat these steps for each one. Instead, put a vertical bar (and a space before and after it) between the separate accounts, as follows: person1@example.com | person2@anotherexample.com | @example2.com.
Whitelisting Emails in Hotmail
- Open your mailbox and select Options (upper right-hand corner).
- Select the Junk E-Mail Protection link.
- Select the Safe List link.
- Copy and paste username@domain.com into the dialog box titled Type an address or domain.
- Click the Add button next to the dialog box.
- If the mailing is in your “Junk E-Mail Folder”, open the email and click the “Not Junk” button
- You should also check that the mailing’s email address is not in your Blocked Senders list. You can find your Blocked Senders list by following the directions above and going to Blocked Senders List instead of Safe List. If you see the email is from an address on this list, select it and click the Remove button
Whitelisting Emails in Yahoo!
Create a filter. You can create a filter to automatically send emails from certain senders straight into your Inbox.
- Select the Settings link (gear icon) near the top right of the Yahoo Mail window, just underneath the Home icon. A menu will appear on the right.
- Near the bottom of this menu select More Settings.
- Select Filters from the list that appears on the left side of your screen, then select the + Add new filters link.
- Name the new filter, in the Set Rules section select Contains, then enter the email you want to whitelist in the Type a Filter Value field.
- In the Choose a folder to move to section, select Inbox.
Whitelisting Emails in Xfinity
- Sign into your My XFINITY account.
- At the top right, select the Mail icon to reach your Inbox.
- Select the Address Book tab.
- Select New Contact on the left sidebar.
- Add the sender’s email address.
- Select Save to save the contact.
Whitelisting Emails in AOL
- Select Contacts on the left navigation bar of your Inbox screen.
- Select the New Contact icon on the top bar.
- Add the new contact information to the required fields.
- Once completed, select the Add Contact button at the bottom.